For those of you with troublesome
skin, like mine, we’re going to go over my preferred way of foundation
application for the most flawless coverage. If you’re curious, I do mainly work with liquid foundation in the
medium to full coverage range, but can definitely work with any type of foundation
providing you request it to be done.
Side note: I can’t stress enough how important it is to have a good
foundation. If requested enough I’ll review my favorites, but it’s unbelievable
how well it pays off to have great foundation.
You will become a believer and
searcher for the gold known as “great foundation”.
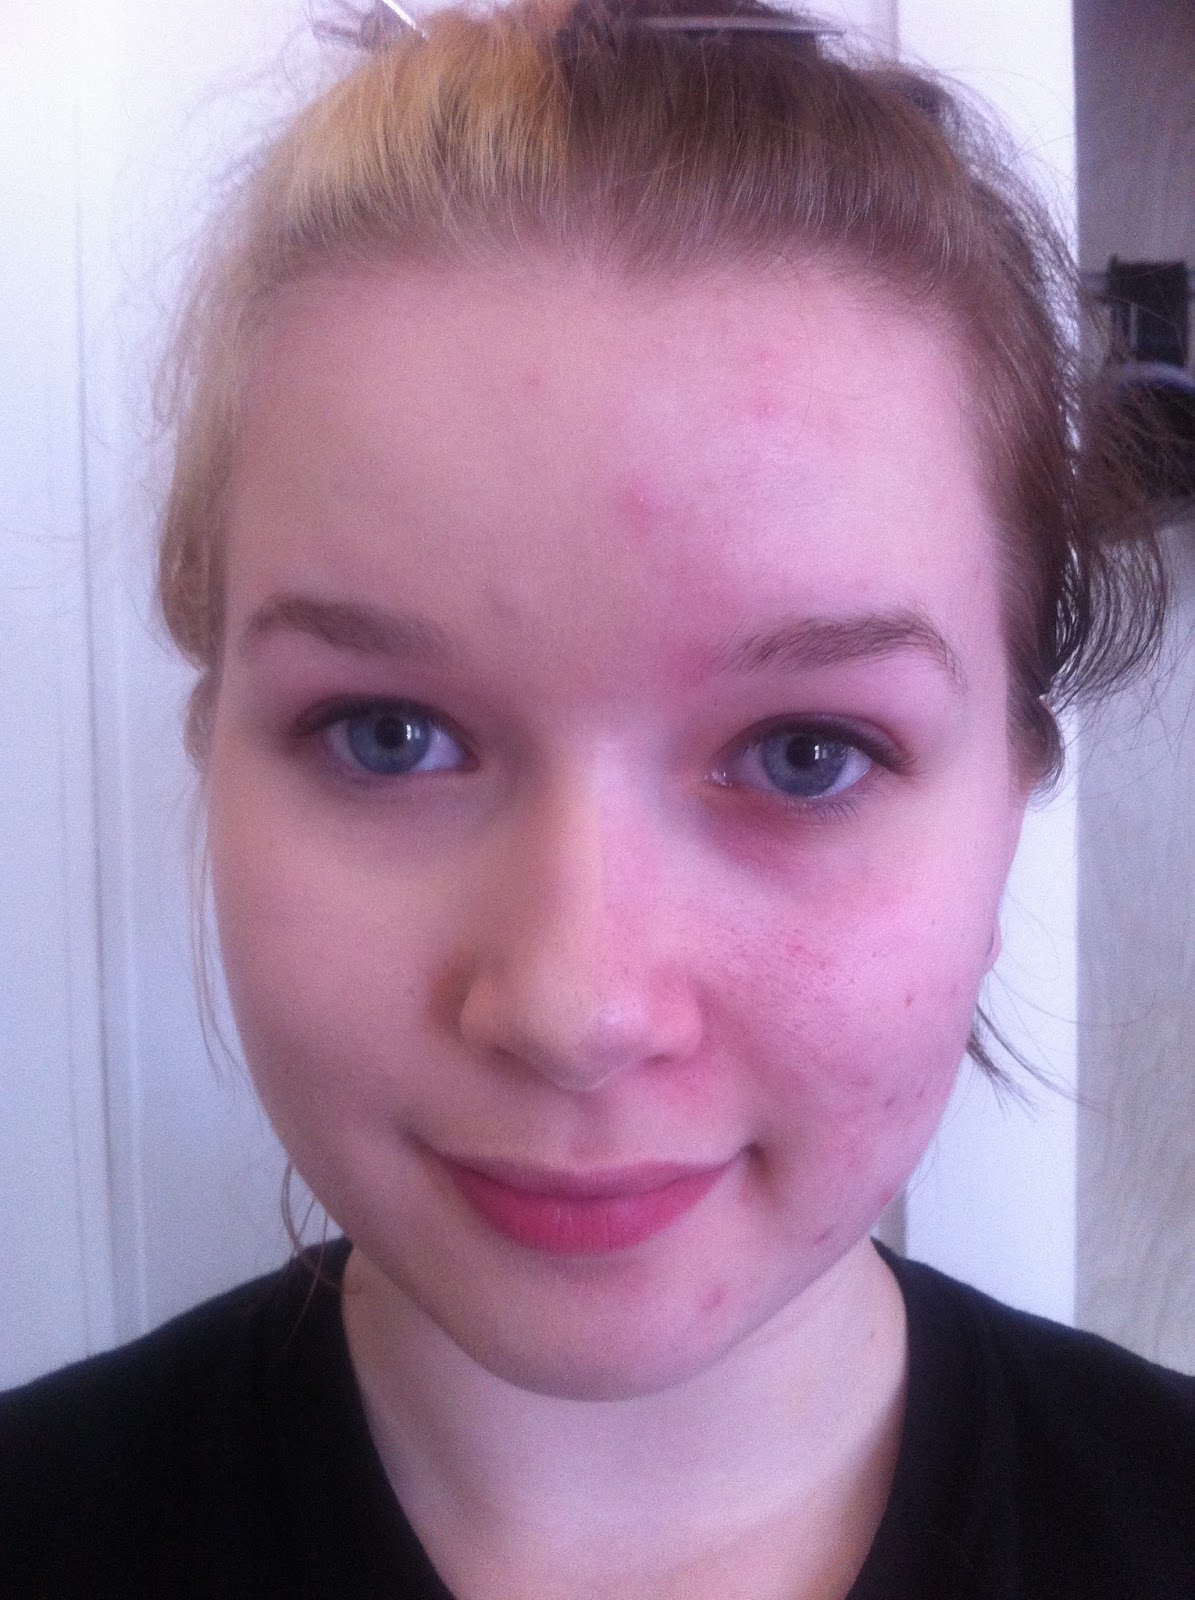
For starters, here’s me
bare-faced to show what I’m starting off with.

(lovely, I know)
My skin is oily, acne prone, has
quite a bit of redness on my cheeks and the outer parts of my face tend to get
a little dry. A good portion I inherited in my genes, the rest is mainly just
me having awful skin. To help your skin it’s always beneficial to drink plenty
of water and eat healthy, but some of us are just screwed over with that. So,
cheers to you ladies and to the rest of you: cherish your skin.
All you’ll need for this is
primer for your face, a beauty blender (mine is just a knock-off I found at
Ross) and your favorite foundation.
A quick note: not everyone uses face primer, but I would highly recommend it. Nothing about clogging up pores and uneven textures on my face is really desirable to me, especially with my already screwy skin.
A quick note: not everyone uses face primer, but I would highly recommend it. Nothing about clogging up pores and uneven textures on my face is really desirable to me, especially with my already screwy skin.
Prime your face and give it a few
minutes for your face to really soak it all in. While your primer is getting
ready, run your beauty blender under some water and massage it like you would a
sponge so it’s soaked with water. Lightly squeeze all that excess out and what
I do is wrap it in a couple of paper towels and squeeze the rest of the water
out. What you’ll have now is a bigger sponge that is much more plushy and fun
(also easier to work with lol). Dot your foundation over your face (I generally
do one side at a time because foundation tends to become harder to work with
after it’s sat on your skin for a few minutes)

*The foundation I'm using is Estee Lauder Double Wear in "Cool Bone"; drugstore comparable to this would be Revlon Colorstay or Maybelline Fit foundation*
*Half face done; noticeable difference. GOOD FOUNDATION IS KEY.*
I don’t use concealer due to the
fact that all of them are much too dark for me, so at this point I add a small
dot of foundation to the tip of my beauty blender and very lightly stipple on
top of the troubled spots that I feel need to be covered. If you do use concealer,
now is the time to put a small amount on whatever spots you deem worthy.
Tip: if your blemishes get flaky after applying foundation, put a small
dot of eyeshadow primer on them at the beginning, apply your concealer and then your foundation.
And then you’re done! Once you’re
sure the foundation has set fairly well, lightly brush over it with powder to
set it in for the day.
Next segment: filling in brows
and constructing a perfect-winged cat eye.

If any of you try out anything that is/will be posted on my blog, feel free to tag me on Facebook or Instagram (@BeautyAndBrittany).
No comments:
Post a Comment