Monday, August 12, 2013

Nice skin is really possible?!

So those of you who are friends with me on Facebook may have seen that I've started a new skin care regimen. I'm here today to share this with you all, yaaaaaaaaaay.

First off, there's a lot of different "homemade" or "natural" skin care styles out there. Obviously it's your prerogative to try any of those that you desire, I just want to warn you of the ones involving Baking Soda and Vinegar as a scrub and toner.

If you remember anything from your high school chemistry class, you'll remember that the pH scale works like this: 1 is acidic, 14 is alkaline. Things are either more acidic or more alkaline based on where they sit on the pH Scale. As a reference point, your skin is roughly a pH of 4.5-5, blood is 7, and effective AHA or BHA (I'll explain these later) is 3.5-4, baking soda is a 9 and the average white vinegar (5-10% acetic acid) is 2.4-3-4.
pH is so very important in skincare - too alkaline and the skin barrier is disrupted or damaged, too acidic and you risk burns.
Vinegar and baking soda are household chemicals and they are not safer just because they are not in a bottle in the skincare aisle. Baking soda can be used to scrub stains out of a toilet while vinegar can be used to break down lime build-up on your tub or sink. These are chemicals. They are not better than your cleanser just because they are only one or two ingredients.

Skin care problems are generally caused by genetics, diet, and mistreatment of the problem to begin with, such as scrubbing dehydrated, acne prone skin with baking soda, which damages the skincare barrier and makes your face a bacterial breeding ground. Think of your skin barrier as part of your immune system - it is essential for keeping the bad things out and the good things in, like moisture. Scrubbing it with a too-alkaline cleanser is increasing moisture loss and decreasing the ability to keep bacteria on your skin in check. Worse, by toning your skin with a product with a pH of 2.4-3.4, you're putting your skin at risk for chemical burns, which at best are uncomfortable and at worst will scar.

So now, AHAs and BHAs. It's best explained here. They are basically chemicals found in products we buy and you should purchase appropriately for your skin. The linked site will help you in figuring this out.

SO NOW, ON TO THE REASON YOU'RE HERE:

I've recently started what is called the "Oil Cleansing Method". Most people tend to put "oily" with "dirty", or that adding oil to already oily skin will just make everything worse. What some don't realize is that the reason your skin is oily to begin with (generally) is because you've tried so many things to make your skin better, that in doing so you've actually made it worse. Usually the oil is caused from you scrubbing your face to the point that you've stripped the natural oils and moisture barrier and your skin tries to compensate by over-producing oil. So, in essence, your skin isn't just being oily to be oily, it just isn't able to keep moisture present to make your face supple, soft, and wonderful.
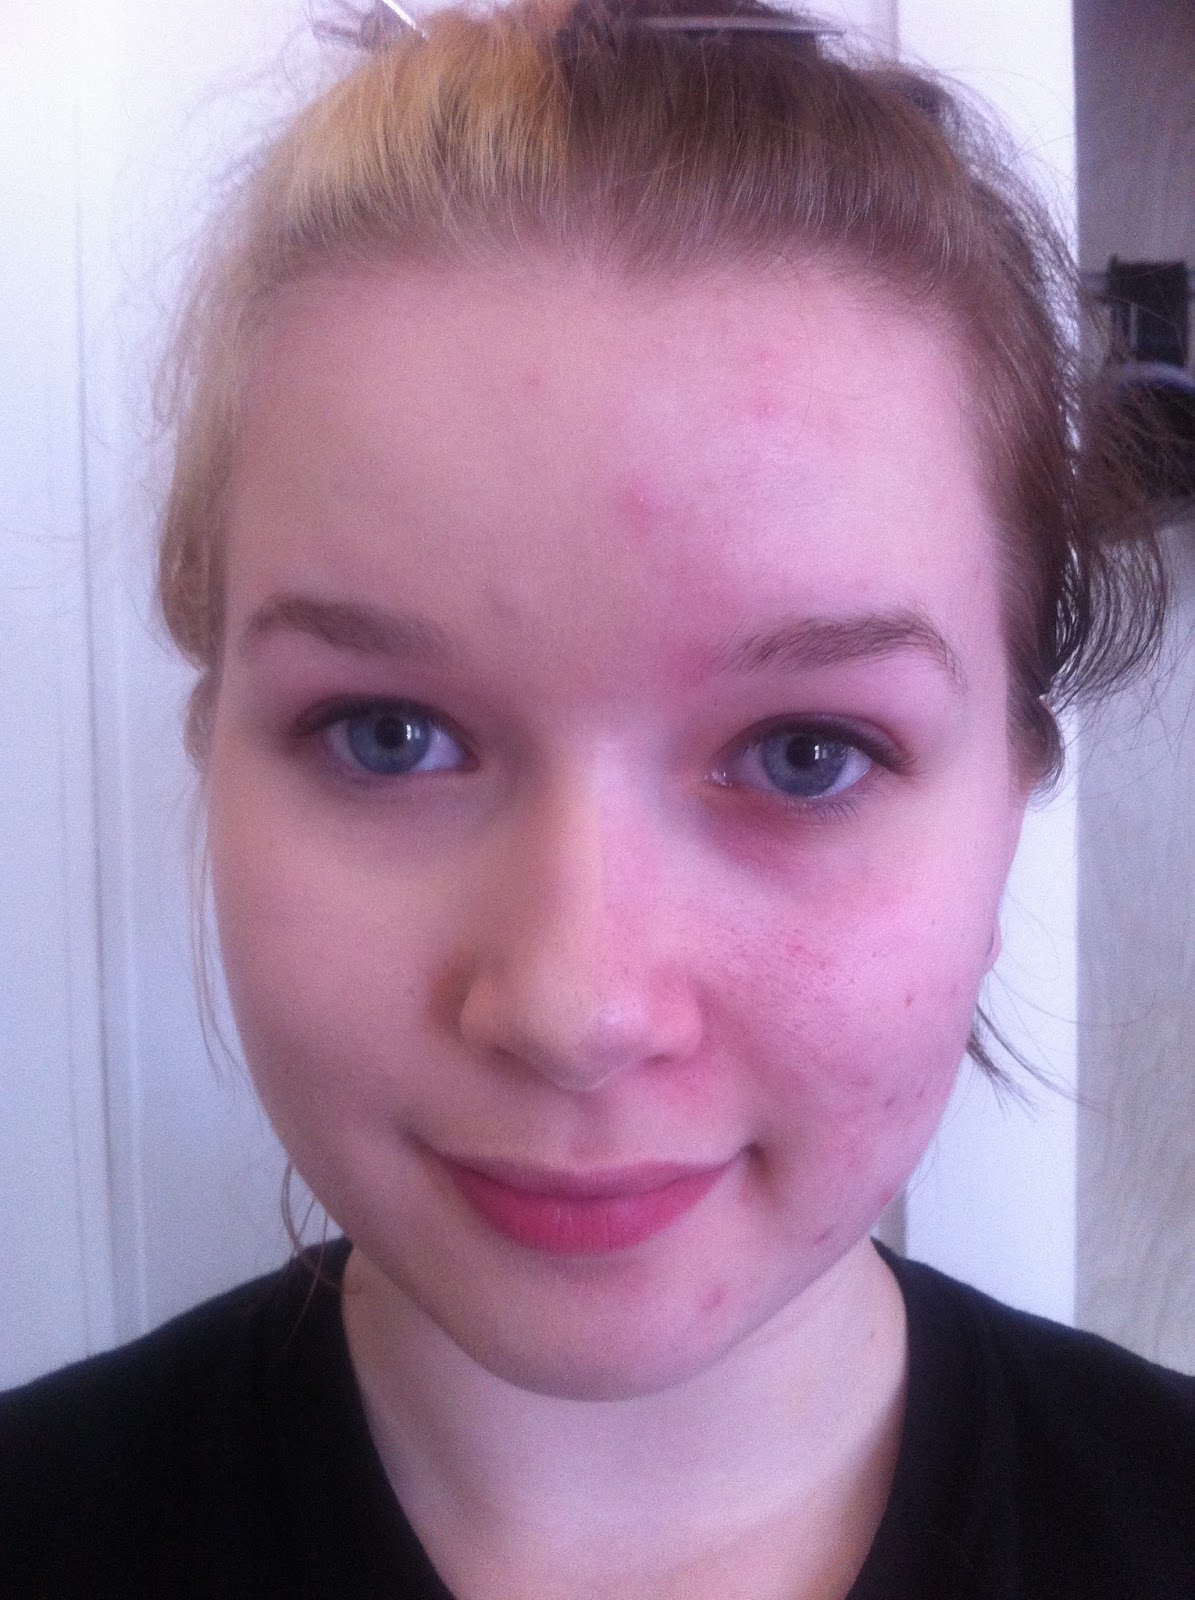
Anyone can try it. If you find regular cleansers too harsh, this might be a good option. it will probably work best for dry, dehydrated skin, and skin that is oily from dehydration. I personally am oily and acne prone with extremely dehydrated skin.

This is where the oil regimen comes in to play.

Obviously when starting this you should spot test with whichever oils you're considering using. Certain oils can work perfect for one and break someone else out. It's all about trial and error.

Some of the more popular oils to try:
  • Argan Oil (I personally think that this is a great choice)
  • Sunflower Oil (This is what I use)
  • Tea Tree Oil (I use this as well)
  • Coconut Oil
  • Jojoba Oil
  • Meadowfoam Oil (have heard great things about this)
  • Mineral Oil
  • Olive Oil
If you're looking for a place to purchase some that aren't available at some stores, Garden of Wisdom both sells oil and helps you figure out which ones are best for your skin type.

So, the routine. We'll start with night-time because it's a bit more detailed.
Keep in mind I'm wearing a full face of makeup, so for those of you who aren't, you can skip the first few steps.
  1. Wet my face with warm water (not hot water, no steam)
  2. Use Cetaphil gentle cleanser to remove my makeup (I don't use a washcloth and wouldn't recommend it. We're trying to help our skin, not grate it with rough material) ~Those of you without makeup come into play at this point~
  3. Apply your oil to your warm wet face. I use a mixture of Sunflower Oil and Tea Tree Oil and have it pre-mixed in an old 2.5 oz makeup bottle with a pump that has been thoroughly cleaned. I fill it with sunflower oil up to about an inch from the top and drop in about 2 tablespoons of tea tree oil.
  4. Dispense enough onto your fingers (please use something you don't have to actually put your fingers in to, preferably something with a pump. You don't want to be putting your oily hands into your bottle of clean oil) to have enough to cover your face and massage the oil into your face for a minute or two
  5. Wipe oil off with a warm washcloth (use a soft, somewhat plush one so you don't risk being too harsh with a textured one)
  6. If I feel that too much oil has been left on my skin, I use the Cetaphil cleanser again (just a very small amount) to wash off the excess oil that the water and towel didn't pick up
  7. One or two drops of oil may now be used to moisturize the skin. I use either Argan or Tea Tree oil, not mixed with anything.

My morning routine is much more simple. I have witch hazel which I use as a toner, so I basically put just a dab on a cotton ball and rub all over my face to remove anything that may have gotten on my face overnight and I repeat step 7 to moisturize for the day.


And that's it! If you have any questions at all, feel free to comment with them and I will answer as quick as I can!

Thursday, August 8, 2013

For Carli; a surprise in my life

I unfortunately cannot make a video because I'm letting a friend borrow my camera for an extended period of time while they're away on a trip, but I just wanted to share something that happened to me last week. I'm the kind of person who genuinely enjoys just talking to people and learning about them, and last week I was just walking around the downtown block in the city I'm in and came across this younger girl (probably 14 or so) sitting on a bench looking a little bit sad so I asked to sit next to her and just chatted with her for a while. She was an incredibly talented young girl, was in theatre, choir, band and athletics, but she was feeling awful because apparently people at her school are just horrible to her and make her feel unattractive and cause her to lose friends. Her mother was walking up from a store down the street and I talked to her and she agreed to meet up with me about an hour from then, so I went to Sephora and bought this girl all the makeup she would need for starting off. When i saw her again I talked to her about me once being in that position till I found something I was passionate about, which was makeup, and taught her how to use all of it and she felt absolutely beautiful and on top of the world after that. It made myself and her mother so happy to see and her mom started crying. I learned from the mother shortly after that, that Tiffany (the young girl) had attempted suicide a couple of times and she had feared that it would happen again soon but all of that fear had entirely dissipated from me just spending time with her and talking to her. So now she and I spend every Monday and Thursday nights hanging out at my apartment just having girl time and making her feel special and loved. This whole fast friendship with her has completely touched my life in the best of ways and it makes me that much happier that I've touched her's. I absolutely love that you, Carli, put so much effort and emphasis on being a good person. People really don't understand how something so little can completely change a persons life. Thank you for that. 

Saturday, August 3, 2013

Makeup? Nah, that's my regular skin fool!

For those of you with troublesome skin, like mine, we’re going to go over my preferred way of foundation application for the most flawless coverage. If you’re curious, I do mainly work with liquid foundation in the medium to full coverage range, but can definitely work with any type of foundation providing you request it to be done.

Side note: I can’t stress enough how important it is to have a good foundation. If requested enough I’ll review my favorites, but it’s unbelievable how well it pays off to have great foundation.

You will become a believer and searcher for the gold known as “great foundation”.

For starters, here’s me bare-faced to show what I’m starting off with. 

(lovely, I know)

My skin is oily, acne prone, has quite a bit of redness on my cheeks and the outer parts of my face tend to get a little dry. A good portion I inherited in my genes, the rest is mainly just me having awful skin. To help your skin it’s always beneficial to drink plenty of water and eat healthy, but some of us are just screwed over with that. So, cheers to you ladies and to the rest of you: cherish your skin.

All you’ll need for this is primer for your face, a beauty blender (mine is just a knock-off I found at Ross) and your favorite foundation.

A quick note: not everyone uses face primer, but I would highly recommend it. Nothing about clogging up pores and uneven textures on my face is really desirable to me, especially with my already screwy skin.

Prime your face and give it a few minutes for your face to really soak it all in. While your primer is getting ready, run your beauty blender under some water and massage it like you would a sponge so it’s soaked with water. Lightly squeeze all that excess out and what I do is wrap it in a couple of paper towels and squeeze the rest of the water out. What you’ll have now is a bigger sponge that is much more plushy and fun (also easier to work with lol). Dot your foundation over your face (I generally do one side at a time because foundation tends to become harder to work with after it’s sat on your skin for a few minutes)
*The foundation I'm using is Estee Lauder Double Wear in "Cool Bone"; drugstore comparable to this would be Revlon Colorstay or Maybelline Fit foundation*


Lightly stipple with the blender until all of the makeup has been evenly distributed. Move on to the other side of your face and enjoy the magic.

*Half face done; noticeable difference. GOOD FOUNDATION IS KEY.*

I don’t use concealer due to the fact that all of them are much too dark for me, so at this point I add a small dot of foundation to the tip of my beauty blender and very lightly stipple on top of the troubled spots that I feel need to be covered. If you do use concealer, now is the time to put a small amount on whatever spots you deem worthy.
Tip: if your blemishes get flaky after applying foundation, put a small dot of eyeshadow primer on them at the beginning, apply your concealer and then your foundation.

And then you’re done! Once you’re sure the foundation has set fairly well, lightly brush over it with powder to set it in for the day.


Next segment: filling in brows and constructing a perfect-winged cat eye.


If any of you try out anything that is/will be posted on my blog, feel free to tag me on Facebook or Instagram (@BeautyAndBrittany).

Friday, August 2, 2013

Eyebrows are sisters, not twins.

So, this post is all about eyebrows. Eyes are the window to the soul, right? Well eyebrows are the window frames, and nobody wants to look through a window with cracked paint and cobwebs.

So, get 'em cleaned up ladies.

There are a million ways to go about shaping your 'brows. I usually just follow the natural shape of mine and tweeze the little extra hairs out, but for those of you who need more of a guide to follow, this is for you.

Supplies:
  • Tweezers, preferably a good pair. Nobody wants to be pullin' on skin.
  • Grooming Scissors (optional)
  • Business Card, or something equally straight and firm.
  • White eyeliner (if you're into having a tangible line to guide you).
First off, I’d recommend taking a spoolie or eyebrow brush/comb and straightening them up a little.


Take your business card and line it from the edge of your nose through the inner tear duct of your eye. This is where your ‘brows should start.
 (If you decided to use an eyeliner pencil, draw a line here as a guide).

Move the card so it goes from the edge of your nose through the center of your eye. This is the recommended place for your arch to be. 
(draw a line to connect this point with the first line)

Next you’ll need to line the card from the edge of your nose to the outer corner of your eye. 

This is where your ‘brows will end.

Now is your time to shine! Well, pluck. These guide points you’ve created come together to form the shape your ‘brows are meant to be to compliment your facial structure. So at this point, just pluck everything outside the lines created by our guide points and anything above the line at the top of your ‘brows, just trim with some grooming scissors.

As far as thickness goes, that is completely up to you. Mine, for example, are fairly thick and straight at the beginning, but thin out as they go. It’s just personal preference.

So fresh and so clean


Good luck with your shaping and comment how it goes or if you have any questions.

Next post will be on foundation application, woop!

Wednesday, July 31, 2013

Welcome! An Introduction for you lovelies.

Hello all, welcome to my blog! I figured an introduction would be appreciated, so here you go.

First off, if you couldn't tell, my name is Brittany. I have an unhealthy obsession with makeup and hair and also love helping others out there in the makeup/hair/fashion realm. My personal style is in the Pin Up/Rockabilly/Punk range, but that doesn't mean I'm not incredibly familiar with other styles [really I'm just fickle and all over the place]. I plan on publishing pictorials, lessons, and potentially videos on things that have been requested either through public networking or my personal facebook; if you have any requests or questions, please post them! 

Things I'm most familiar with for posting pictures/tutorials: hair, makeup, style and nails; basically anything beauty related is cool with me.

I'm going to work on getting a schedule of some sort up so you'll know when I'll post next. Thanks for reading and I'll see you soon!


If you would like to find me on networking sites: